RESTORING OUR VICTORIAN WINDOWS

Our windows have been a long journey, one whole year to be precise. Now we didn’t spend that whole time restoring them but the process escalated (like always) and we ended up making significant changes, when we had originally planned to just paint strip and put them back together. In hindsight, we are so glad we made this choice. The outcome will last us, hopefully, decades and the sound and heat upgrade will be life changing. This job is certainly a sliding scale and if you are pondering restoring your windows you could pick and chose from the phases below…
PHASE ONE: REMOVE
Possibly the easiest step but you do need to consider which parts of the windows you will be keeping and which parts you will renew. We used and would highly recommend Mighton Products (https://www.mightonproducts.com/) for all our sash window accessories. Our windows were mostly past repair, so when removing them we didn’t worry about damaging the parting bead, rope, staff beads etc. For us it was a no brainer to get these new as they are relatively inexpensive. The weights/glass are more expensive and pricing these may make your decision for you. We did change our glass to double glazed and so got new weights too.
PHASE TWO: PAINT STRIP


This one is self explanatory, strip the paint from both the sashs and the boxes. We used a heat gun for the flat parts and paint stripper for the more detailed sections. It’s a horrible, long process but one of the most important when restoring windows. Remember to wear an P3 grade mask as old paint can be lead based!
Heat Gun: https://bit.ly/45qqb8f
Paint Stripper: https://bit.ly/3YHw4f1
Face Mask: https://bit.ly/3qA1reT
PHASE THREE: SAND, SAND, SAND
My top tip for sanding would be to get these shaped sanding pads, https://bit.ly/3OCktcp, with some flexible sandpaper. ideal for the wonderful original sash details.
Sander: Honestly any will do, we have a few now we have been renovating for 4 years but I personally think our random orbital sander makes any job so much easier. Ollie found this one which is very similar to the £500 professional Mikra Deros - https://www.amazon.co.uk/PioneerWorks-Brushless-Vibration-Woodworking-Polishing/dp/B0BNDGWPNN/ref=sr_1_16_sspa?keywords=sealey+random+orbital+sander&qid=1692107463&sprefix=sealy+ran%2Caps%2C97&sr=8-16-spons&sp_csd=d2lkZ2V0TmFtZT1zcF9tdGY&psc=1
Shaped Sanding Pads: https://bit.ly/3OCktcp
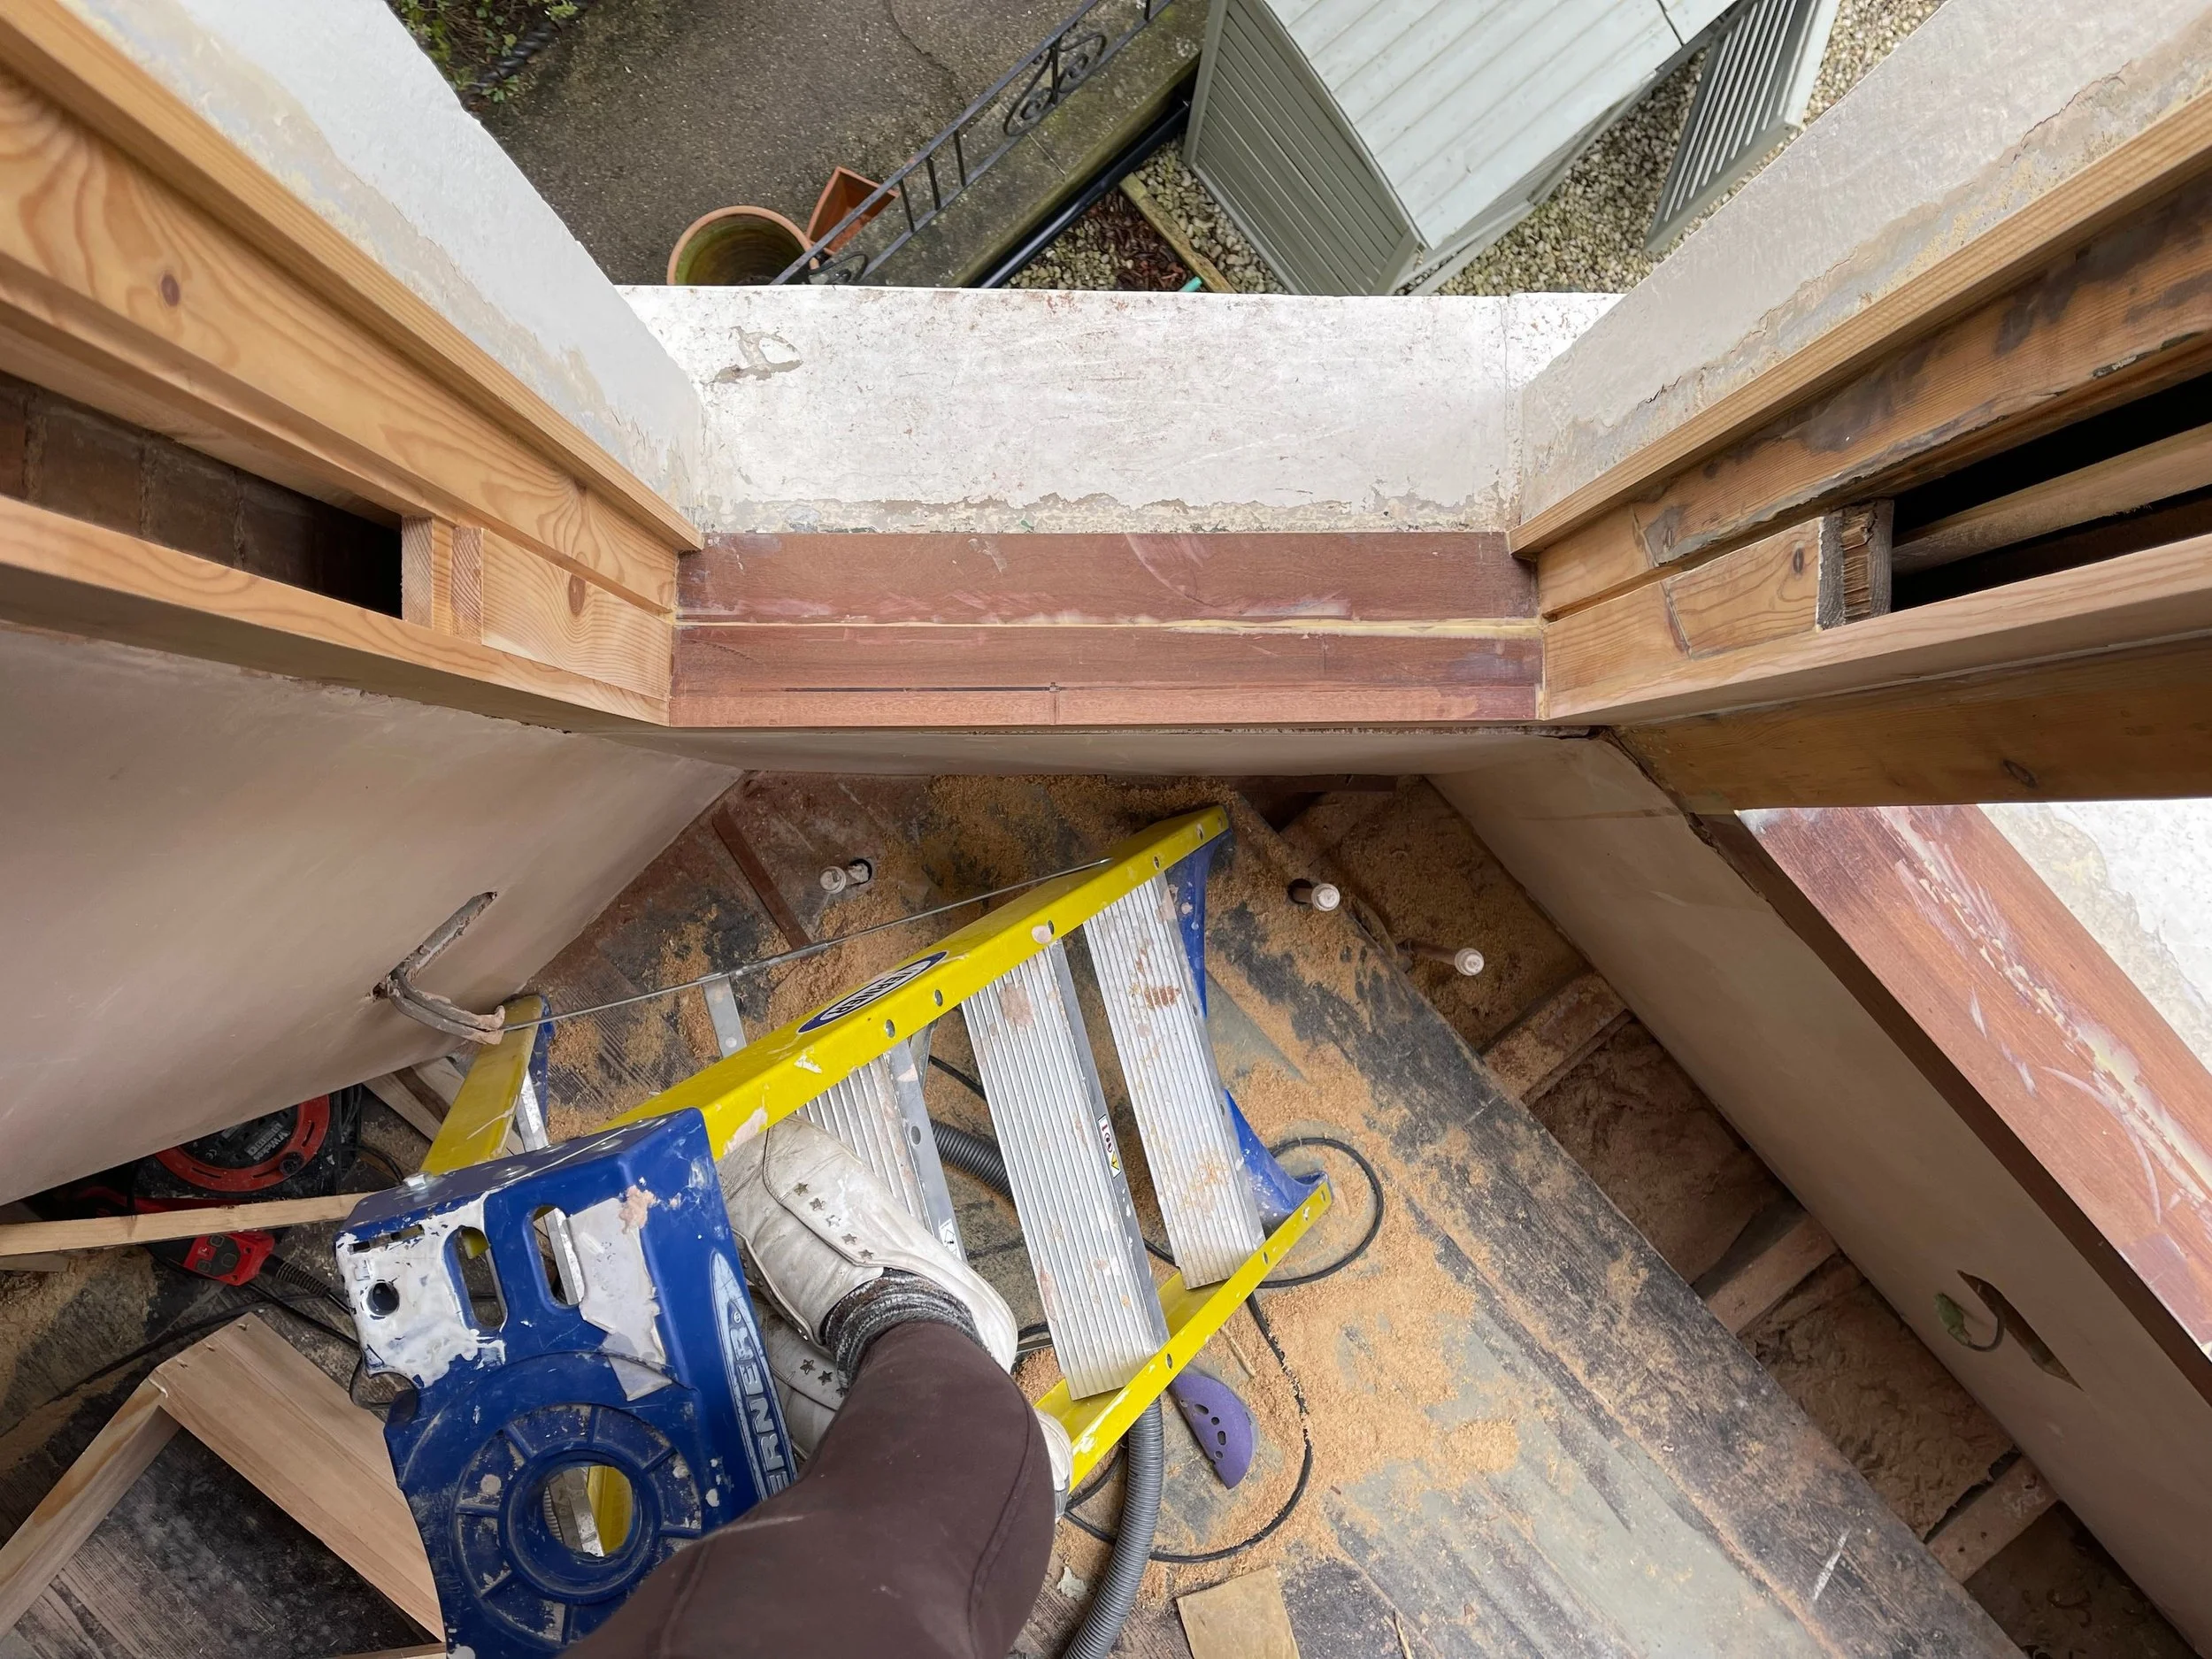
PHASE FOUR: REMAKE UNREPAIRABLE PARTS


This is where things get a little more complex. A few of our sashes had sections which were totally rotten. Not just a small square at the end which can be cut out and easily replaced (see photo below, right side, below the diagonal cut is new wood, above is old). We had one whole casement which had been damaged over the years from the bay window roof leaking and consequently it had no strength left in the wood. Honestly we were quite nervous about the possibility of remaking whole sections but Ollie is pretty much a part time carpenter nowadays and mastered it like a champ. This is very individual to each window and design and if you don’t have the confidence this is were you could get a carpenter in to do a few jobs. Equally we found this website https://www.chilterntimber.co.uk/product-category/sash-window-components/ where you can purchase sash window components.
PHASE FIVE : ADJUST FOR DOUBLE GLAZING
Most old Victorian windows were externally glazed, meaning the glass is placed
PHASE SIX : TEST AND FILL
At this stage we needed to see how the sashes we running in the boxes. With many, many years of paint stripped and sanding it does change the size slightly. Our sashs didn’t even open before we removed them, they were locked shut with years of paint. We think this was a choice to seal in some of the gaps and keep the wind out. We also did notice that a lot of ‘quick fix’ jobs had been done to our windows to keep them up for another year. All we did was hold them up and analyse the gaps, some needed small slithers of wood added to make them square again. Once we had added sections we then filled any spaces, glued the frames back together and made sure they were square for the double glazing.
PHASE SEVEN : SEAL AND PAINT
Now onto the more rewarding part, making them look good again! We used a wood sealer we previously had to give them extra protection. Then primed in Benjamin Moore Insl-X® Stix®and did the top coat in Benjamin Moore Aura® Exterior Satin Simply White (OC-117).
PHASE EIGHT : ADDING DOUBLE GLAZING

This one seems scary but we followed the advice of Bradshaw Joinery (https://www.youtube.com/c/BradshawJoinery). In fact we referred to a lot of his videos throughout the whole process. He does great detailed explanations and honestly we would have struggled without watching his videos. We chose Fineo vacuum sealed double glazed units double glazing, it was the slimmest we could find but it’s not cheap. Still far cheaper than outsourcing your windows but by far the biggest investment. You cannot order the glazing until this stage as it needs to be precise. This in turn does make the process long because the leadtimes can be long. We waited a few months for ours to be delivered.
Glazing:
Glazing Tape:
Sealent:
Glass Holder:
PHASE NINE : REINSTALLING
Finally the end is in sight! If you have chosen to change the glass and therefore the weight, this is when you weight the new sashs. We simply used our weighing scales on the table and it worked fine. Then you can order your weights (https://www.mightonproducts.com/category/sash-window-hardware/sash-window-weights/). You will need to measure the space you have in the sash box as if they are too long the system will not work. Therefore we had to use a mixture of lead and steel. Steel are much cheaper but we had to use lead on a few due to the sizing.
Rope: https://www.mightonproducts.com/shop/sash-window-hardware/sash-cord-and-sash-cleat/sash-cord/waxed-cotton-sash-cord/
Brushes: https://www.mightonproducts.com/shop/sash-restoration/expanding-foam/ecobrush-self-adhesive/
Staff Beads:
Parting Beads: